

Scroll Pinterest or TikTok this month and the wall everyone is building isn't a gallery of bought art — it's a photo wall: tight grids of personal photographs, family prints and travel snapshots, arranged in even rows and lit from above. Searches for "photo wall layout", "8x8 photo wall" and "wall lights over pictures" are climbing across every design feed.
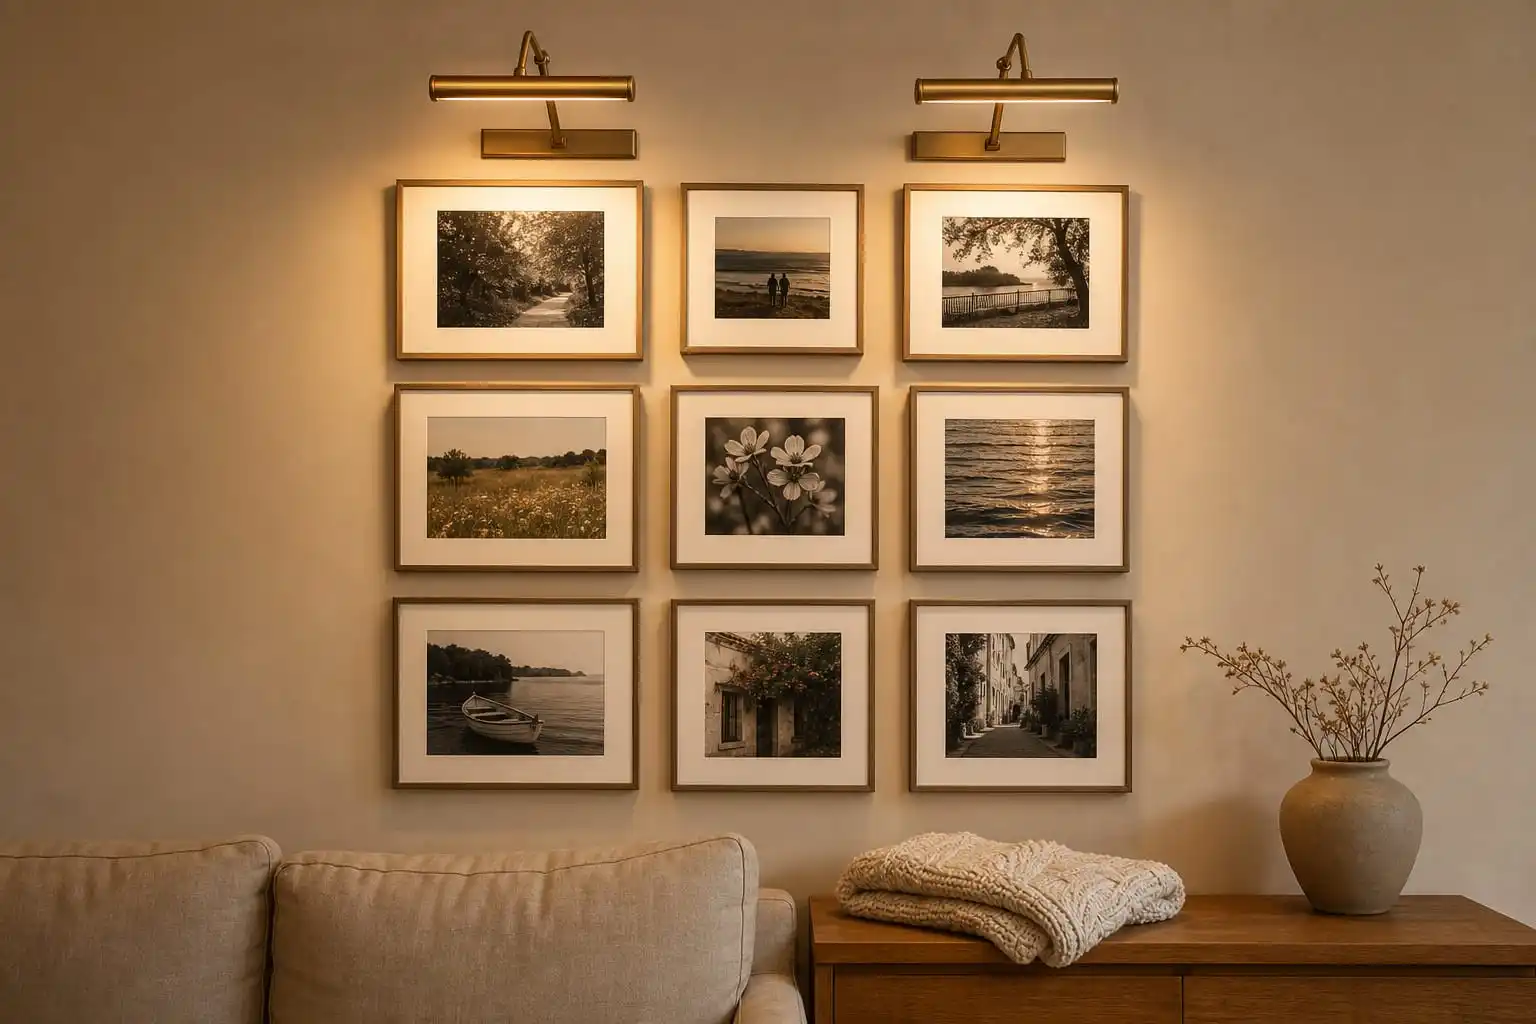
It looks effortless in a 15-second video. In real rooms, photo walls are the hardest wall in the house to light well — and the reason is almost always the same. Here is how to avoid it.
Why Photo Walls Are Harder to Light Than Art
Three things make photos a different problem from a single large canvas:
- There are more surfaces. A grid of nine or twelve small frames multiplies every reflection. One badly aimed light doesn't just miss — it creates a hot spot on one photo and leaves its neighbours dark.
- Glossy prints and glass behave like mirrors. Photos are usually printed on glossy paper or glazed, so light aimed too directly bounces straight back at the viewer and wipes out the image.
- Skin tones are unforgiving. You can get away with a slightly wrong light on a landscape. On faces, the same light reads as orange, gray or sickly — and it's obvious instantly.
Layout First, Light Second
Light can't rescue an inconsistent grid. Before you buy anything: keep the gaps between frames consistent (2–3 inches is the standard), align the top row, and treat the whole grid as one rectangle when you decide how wide the light needs to be. A photo wall reads as a single composition — so it should be lit like one, not as a dozen separate pictures.
Step 1: Kill the Glare
This is where nearly every DIY photo wall goes wrong. Two rules fix it:
- Mount above and tilt forward. Position the light roughly 6–8 inches above the top row and angle the head slightly toward the wall — not straight down and definitely not straight out. Raking light from a forward tilt keeps the reflection off the viewer's eyeline.
- Consider matte. If you're reprinting photos anyway, matte or satin paper removes the mirror problem entirely and looks better under directional light. For framed pieces you already own, the tilt does the work instead.
Step 2: Get the Colour Temperature Right for Faces
Photos are the one case where "warmer is cosier" isn't automatically right. Warm light (around 2800K) flatters wood frames and evening atmosphere, but pushed too far it turns skin tones orange and makes black-and-white prints look sepia. Neutral white (around 4000K) renders skin and true blacks most accurately.
The practical answer for a photo wall is a light you can switch between the two — warm for evenings, neutral when the photos are the point. And whichever you choose, colour accuracy matters more here than anywhere: look for CRI 90+, because a low-CRI LED is what makes faces look gray and flat no matter how bright it is. Here is why CRI matters more than brightness for art and photos.
Step 3: One Light or Several?
Size the fixture to the group, not to a single frame: a light covering roughly half to two-thirds of the grid's total width will wash the wall evenly. Wider walls — a 8x8 grid, or a full sofa-length arrangement — usually want two lights rather than one very long bar, spaced symmetrically across the grid so the falloff between them stays invisible.
If outlets are the obstacle (as they usually are on a photo wall), rechargeable magnetic lights solve it: the fixture lifts off for charging, so you're not running a cable across a wall covered in frames. Our Model 270 is built for exactly this — up to 80 hours per charge, three colour temperatures, a telescopic arm to clear deep frames, and CRI 90+ so faces stay honest.
Photo Wall Lighting Checklist
- Fix the grid first: consistent 2–3 inch gaps, aligned rows.
- Mount 6–8 inches above the top row; tilt the head slightly forward to defeat glare.
- Choose switchable colour temperature: 2800K for evenings, 4000K when accuracy matters.
- Confirm CRI 90+ — non-negotiable for skin tones.
- Size the light to 50–65% of the grid width; use two lights for wide walls.
- Pick a rechargeable magnetic mount if there's no outlet behind the wall.
Give your photos gallery light — without a single cable.
The Model 270 lights grids evenly, switches between warm and neutral for accurate skin tones, and mounts magnetically in five minutes. Up to 80 hours per charge, CRI 90+.
Shop the Model 270Rechargeable · Magnetic Mount · CRI 90+ · Free Shipping over $35